Sunday, November 6, 2011
It's For the Birdz

20" kidrobot Mega Munny entitled, It's For the Birdz
I stared at this sculpture for a long while before I could actually cut, paint, design, or even touch him for that matter. He seemed extremely monumental compared to the small 7" munny which scared and excited me simultaneously. I decided to start at his base by cutting away areas of his stomach. My original 2-D design, located near the bottom of this post, called for a blunt opening with a painted surface much like wood paneling or veneer mouldings. As I started transferring my 2-D design to this 3-D sculpture, things began to change. I decided to make the positive space resemble a picked white fence to contradict the visual and emotional feel of an urban area. As I cut away areas, with an utility knife, I noticed that the upper portion of the chest took the form of a human rib cage which birthed my idea to make it all about the birds.
The bird cage lead me to believe that I would eventually put bars inside the opening and fill it with candy that people cannot get in honor of Halloween. At this point, I was going to title my work, " No Treats for Tricks!" Unfortunately this did not happen. I could not figure out a way to fabricate the bars strong enough to survive a UPS man's hands all the way to Texas, and I did not want to buy a bird cage just for the small elevating door.. boo. Oh well.. moving on.
The first pictures below were taken after my first session with the munny. I spent about seven hours completely dedicated and involved with thinking, cutting, and painting that I never documented each process. I adapted the bricks idea from my smaller munny mentioned above and I decided to make him an entire building in honor of the ten year anniversary of 911. RIP The bricks were painted using a one-point perspective to convey depth and the idea of a possible explosion or erosion. This hole would eventually be the perfect place for my bird's nest's candy dish!?


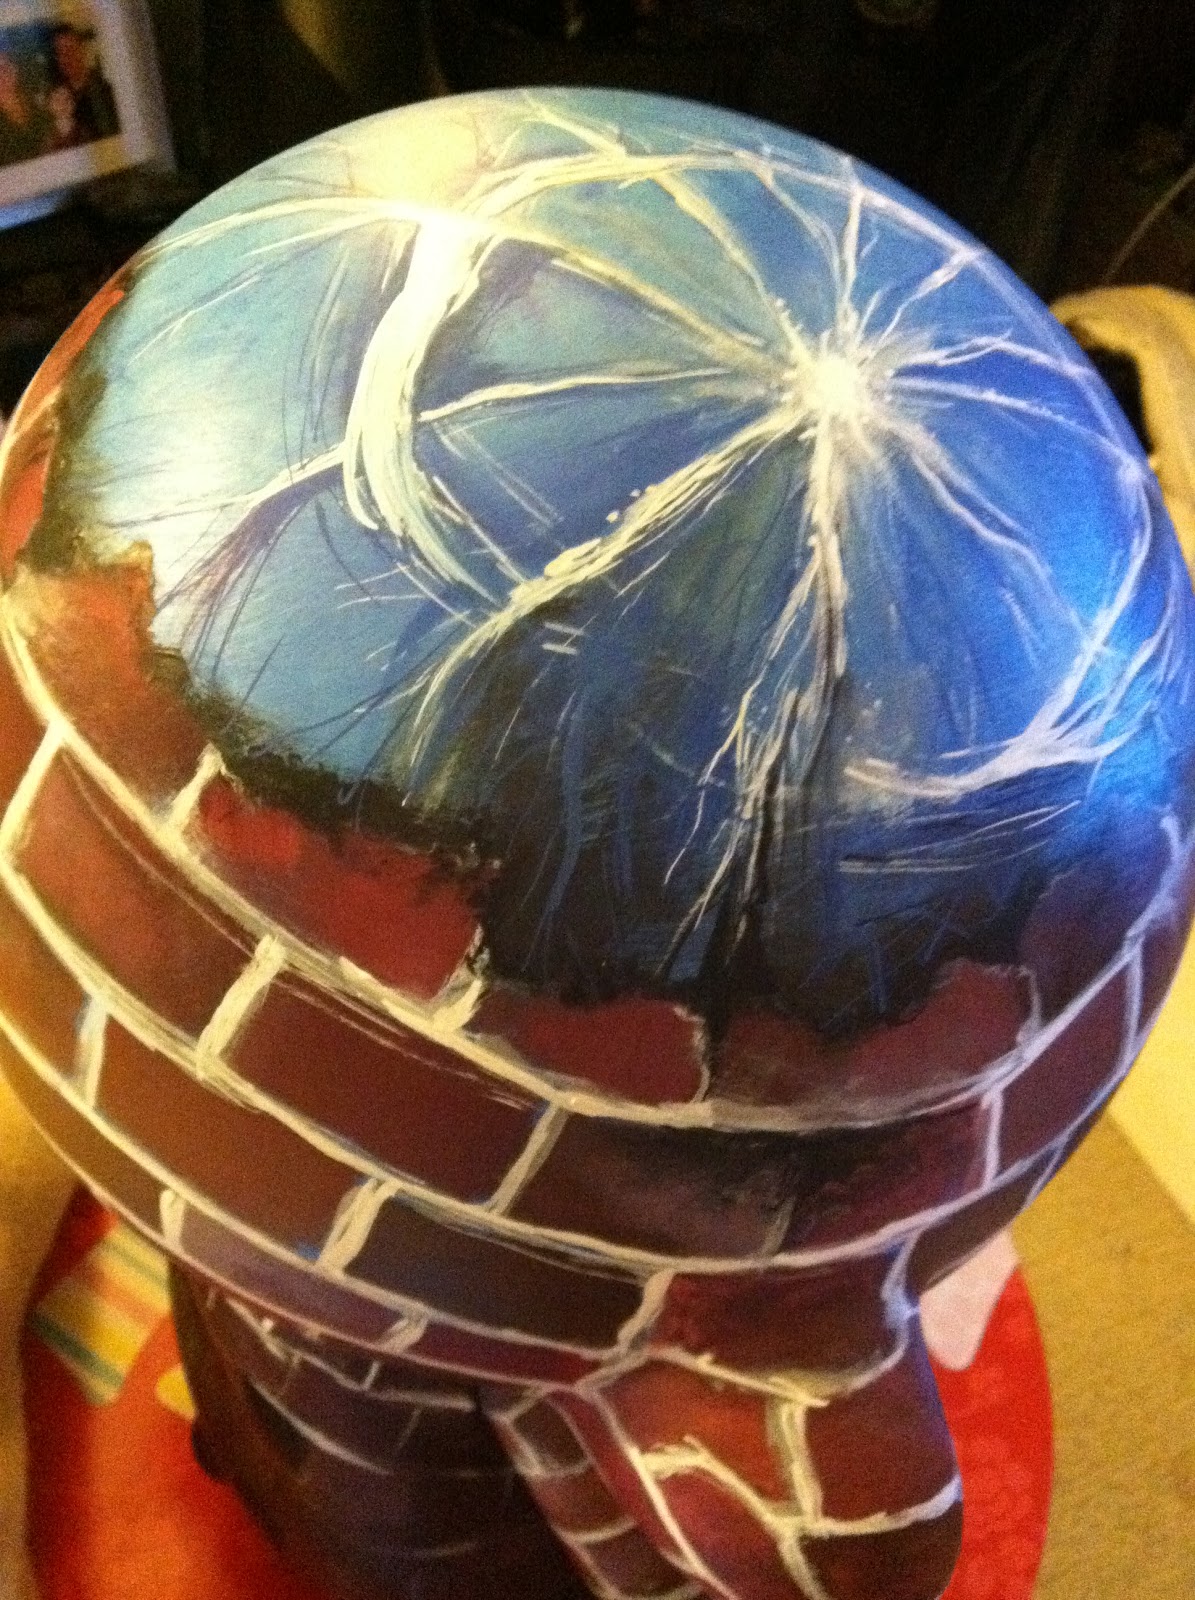
After painting all those bricks, I decided to compliment my building idea by painting the top of his head blue like a sky. After coming home from work the next day and staring at it, again; it began to look like an egg breaking through the top of the building. I liked this idea. I researched online and found a Photoshop image of a Windows-default desktop screen saver that an artist layered broken glass over. It looked awesome! Painting the cracks was difficult. It did not look anything like my intention.. broken glass or a damaged egg. I'll get back to that..
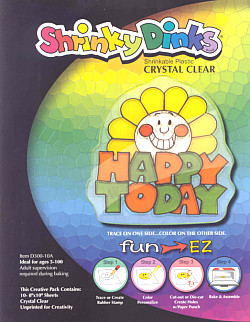
Rolling with the building idea, I decided to make physical windows in munny's back. I went to Michaels, knowing that Aaron Brothers does not sell Shrinky Dinks, to buy the some. I grabbed the only kind they had and continued shopping around the craft aisles to gather some ideas. I stumbled upon a small fake bird which would work out pretty nicely. It was a dollar or two so it couldn't hurt. I also found a small bird house, some twigs bound together like a nest, and a box of sculpey (<-- also a good time). Later that same day, my girl friend, our friend Shane, and I went to Bates Nut Farm to pumpkin pick. While searching for the most righteous pumpkin, I decided to nab some hay and use that for the nesting material within my munny. I asked the clerk to charge me a few dollars for some hay but she allowed me to take as much as I wanted which was nice. A nice pumpkin and a plastic bag full of hay ended the day.
 That night, I was super excited. I didn't know whether to build a nest or make a window. I did both. I got started on the the Shrinky Dinks first. It turns out that "Bright White" is opaque and not ideal for a window. It did not occur to me at the time, but the name now said it all. My girlfriend and I still had fun experiencing the material although we did not use it properly. Don't try this at home kids but we used a heat gun to shrink the plastic instead of a toaster or oven. Its way faster and doable anywhere. The downsides are it blows around, you'll need a suitable surface that can withstand heat, and you'll need tough fingers.. She made rings while I made a small munny I traced from the 7" Munny Comic-book. Frustrated, I called around looking for the "Crystal Clear" but I could not find this product anywhere. I had to order online and wait :(
Now that my project had a subject and an inhabitant, my ideas started taking over. I needed a drill. My boss was cool enough to let me borrow some materials from work. He lent me a heat gun, embossing powders, alcohol inks, a small piece of acrylic, and chalk inks, almost all of which I am unfamiliar. Oh, and a cordless drill. I planned on drilling a large hole, on the top of his head, to create a Rose Window, a traditional circular window found in Gothic churches, out of a broken scrap pieces of acrylic. I planned on using the alcohol inks to create colorful stained glass while using the embossing powder to mimic the lead used around each pane of glass. It was going to be a lot of work. I thought that buying a drill bit while not even owning a drill was a little much.. and pricey too. I returned the drill to work the next day and went to Home Depot to investigate...
 ... And that's that. I scurried home excited to drill everything! The bird house was sitting next to munny as I walked in with the drill and it spoke. I am very glad it did too. Munny's head is unlike the rest of his body and unlike that of the smaller versions. I drilled and drilled and drilled but nothing was happening. It was beginning to second guess the drill. The bit had piecered through his vinyl exoskeleton but would not penetrate his insides. Foam.. I could not drill any further because the foam would not compact. I was so disappointed but very happy I did not drill the enormous hole I planned on the top of his head. I bored out the hole and smoothed it out with my fingers until I unexpectedly broke through into a hollow pocket in the middle of his head. It worked out.
I headed back to Home Depot to buy a 1/4 wooden dowel needed to build the birdhouse perch you see on the bottom right photo. I left the dowel nice and long so it would pierce through the foam on the other side of munny's head and rest comfortably inside, adding to it's support. I eventually painted bricks inside the hole, on the foam, but it looked bad. The foam made the paint look as if it were done improperly so I sprayed some silver spray paint inside his dome to dust the entire inside.


After I had shrunken my windows, I used the heat gun to soften the vinyl. Cutting into a warm munny is like cutting into butter and it made the process a lot easier than the cutting of his chest. After I had all six windows cut, I painted each from a viewer's perspective. The painted bricks, in the jams within the middle windows, create straight lines while the lines within the windows on either side conform to fake angles to create more depth. After painting each accordingly, I adhered them to munny using a hot glue gun. The windows in his back were not too much trouble. I just made the window a little larger than the hole, like a rabbit to a frame, and painted over the excess from the inside.


 Tags. Munny took the shape of a plain and boring building uninterrupted by the rattles of skilled craftsmen. I am no graffiti artist but I really do appreciate the art form. It is amazing what some people can do with a spray can and a set of caps. I never tagged illegally but I did have a very large window in my backyard that my buddy Steve and I used to hit up. I enjoy spray painting but it's just so messy. This was a relatively clean water-based expression. I develpoed small tags and characters to enhance my idea of an urban building. I wrote things like, "Adult Human" to poke fun on kidrobot . Other words: R.Senal, Sick, Tweet, Graphiti, Memo, etc. I started running out of ideas and transplanted older drawings and art I have completed in the past such as my self portrait pumpkin carving, stick figure guy, etc. It was a cool
 'drawing' down memory lane.
 I used a product that I was unfamiliar with which is always fun, frustrating, and most of all "out of the box.". The tags and graf art were all created by chalk inks. They are non-toxic, food safe, and most importantly acid-free felt tip marker that produce super vibrant colors to attract the eyes. The pigment seems to jump off of any surface you put them.. and they go on anything! This is why places like Starbucks or Trader Joe's use these markers for their signage. They are very similar to poster markers since they are water-based and can be used on a variety of non-porous surfaces such as glass, plastic, or metal. In the back of my mind, I was very weary of what would happen to this medium during the varnishing process but I chugged along and pretended to forget about it.

'Outfected'
Right before I varnished, I gave munny earrings like I did for the 7" munny. This time I used scrap wooden dowels spray painted silver and sculpey to form a gauged hole in his ear. I guess munny needs attention too.
After using the white chalk ink marker to touch up the mourter between the bricks, I varnished the entire project in matte acrylic spray; minus the bird n hay. I also taped off the body and head to gloss the blue area (cracked egg/cracked sky/cracked glass.. "lightning"<--fighting word)
Munny Goes Electric?


All in all, it took about thirty-five hours, $100.00 in materials, and a lot of hard work. If I was working on it or not, I was still thinking about it no matter where I was, what I was doing, or who I was with. I used a ton of materials and needed particular equipment to achieve my result. Here is a list of such items.
Tools: Heat gun, drill, utility knife, glue gun, and paintbrushes. Materials: Chalk ink, alcohol inks, alcohol solution, acrylic paint, irridescent medium, sculpey, matte and gloss acrylic varnish, silver spray paint, hay, light bulb, wire, glue sticks, Shrinky Dinks, Copic Markers, wooden dowel, and miniature bird.
I really did have a wonderful time with this guy and I'm extremely sad to see him go. I just hope whoever wins him takes good care of him, Thanks for reading this monumental entry. This post took nearing as long as the sculpture did to complete. I'm tired.

Subscribe to:
Post Comments (Atom)
DLyonsArt@gmail.com

- The Art of Daniel Lyons
- ART ART ART ART ART ART ART ART ART ART ART ART ART ART ART... ART!!! SHHH!!! (aaaaarrrt)
Featured Sites
-
-
Superhero Sketches - Here are a couple of light hearted sketches of the Hulk and Batman from last week. I'm working on some chalkboard style quotes at work and learning a l...
 11 years ago
 -
-
-
Communication. - Why, heeeeelllllo there. I'm feeling a bit silly tonight! Maybe it's due to all the blustery wind outside, or maybe it's because Rachel, of Rachel Pfeffer ...
 15 years ago
 -
-


You are Now a Red Blip
Thanks for Stopping By

3 comments:
I love you, Dan! I'm so proud to call you my boyfriend. Your work bewilders my mind. It's so complex, finely detailed and incomparable. I continue to quietly grasp ideas and ways to alternate them into something that would become more artistically beautiful--as well as different. Something that you naturally have a knack of being able to throw down instantly on paper/canvas like no problem. :) Thank you for teaching me. I love your work.
Dude!!! I'm so happy for you and thanks for sharing your process! I'm always blown away by how sick and talented my friends are with their art. Thanks for doing your thing and sharing it with the world :)
craziness......
Post a Comment